Walk through : Building a workflow to send email message to Multiple users
Sending Email to Multiple users is always tricky as there is no Straight forward approach provided through Visual Studio Workflow like of SP Designer workflow. Below steps will achieve the functionality to send email to multiple users that exist in a field of an item in a list.
If you want to try a simple workflow application which can send an email to a single user, below is the article which can help you.
Now, let’s get started with multiple email addresses in the context of SharePoint.
A user manually triggers the workflow, which then sends an email message to the users in the one of the list field and adds a record in the workflow history that it has sent the email message.
- Create a SharePoint Hosted App
- Create a Sample List > Create a Field with Multi user option enabled. To enable Multi User, you have to manually edit the List schema and provide attribute Multi = true.

- This list will be used for maintaining the Users
- Create a Workflow from the New Items
- Give it a name and Select List workflow for the type
- Create a Sequence and name it Get Current Item Id. Idea is to get the users in the Attendees field for the current Item and send a test email

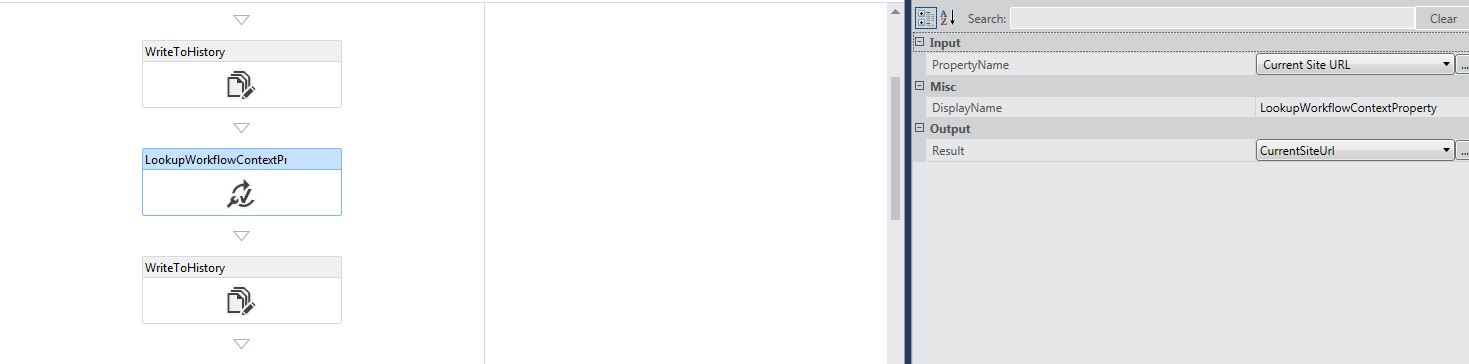
- Get the current Site url from the Workflow Context properties. To store this url, create a variable and store
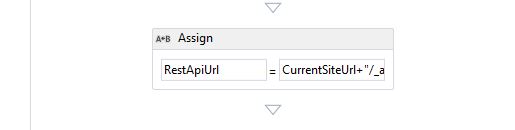
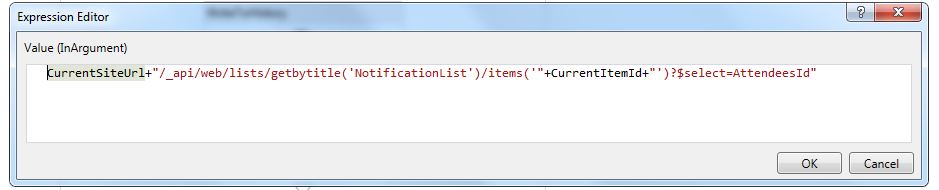
- Now create another variable as “RestApiUrl” and construct rest query by concatenating site url. your query would be looking like
- Drag HTTPSend Activity from the toolbox and construct the parameters for sending the rest query
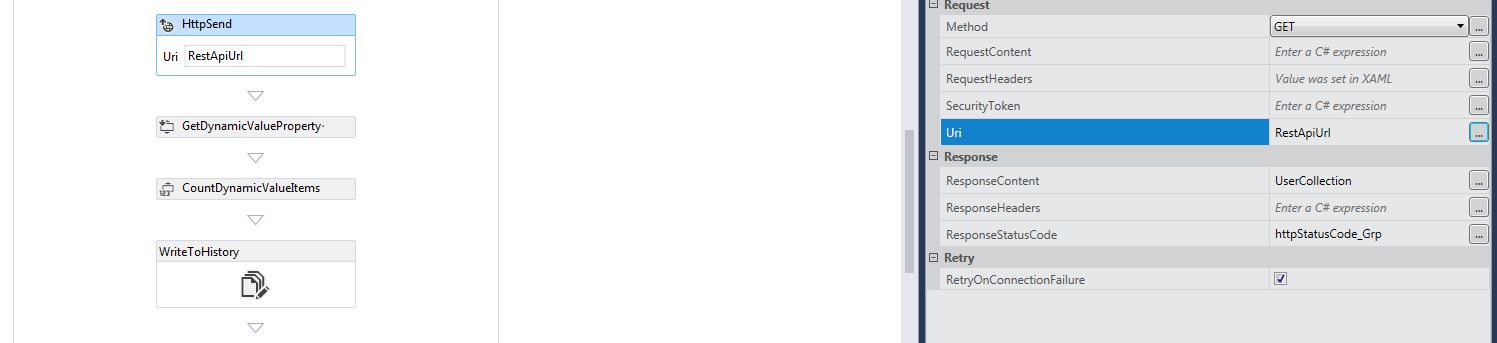
- Capture the User results like the one shown below in properties
- Count the User collection and store in an another variable

- Next step would be, check the count and introduce IF condition
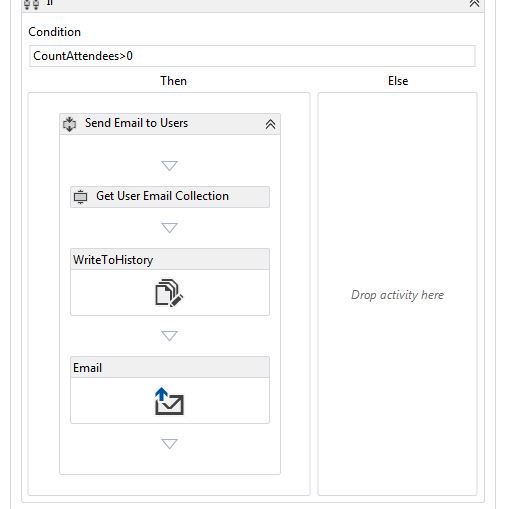
- I have developed a separate custom activity called “Send Email to Users”.
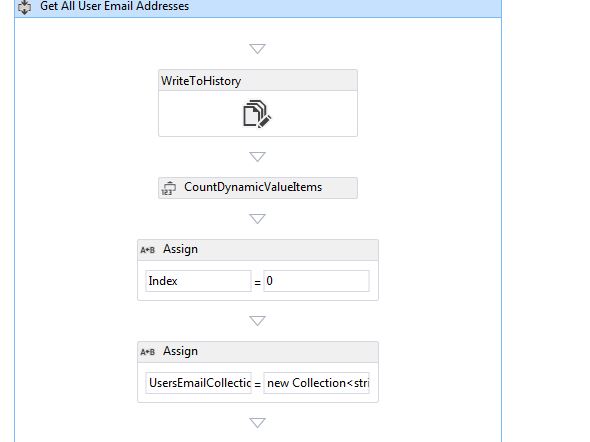
- Create variables “Index” of type Int32 & “UsersEmailCollection” of type “System.Collections.ObjectModel.Collection<System.String>”.
- Assign Index and Initiate UsersEmailCollection as they will be used in the While loop ahead
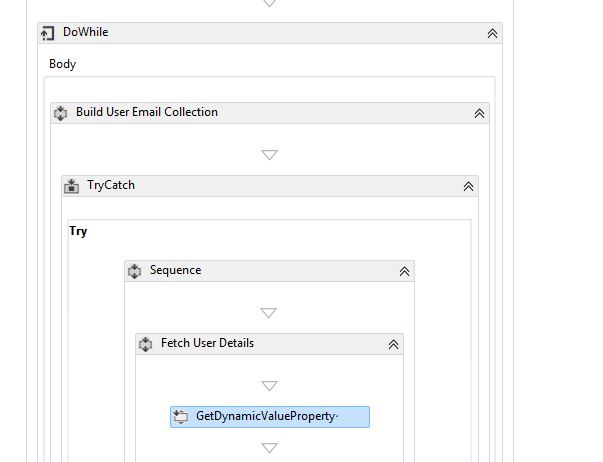
- Drag Do While Activity from the toolbox
- Drag TryCatch Activity and place it in Do While
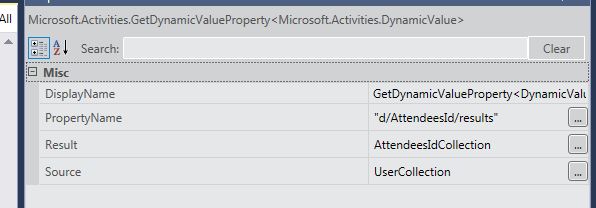
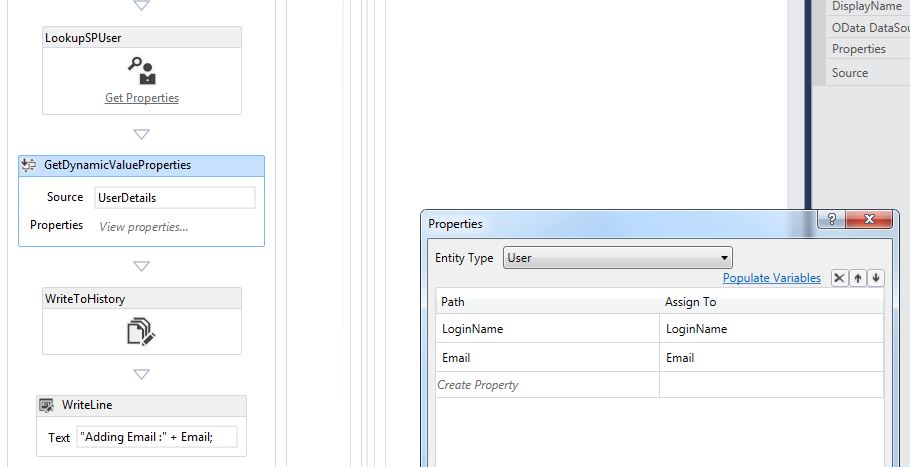
- Drag GetDynamicValueProperty and place it in TryCatch
- In the properties of “GetDynamicValueProperty “, construct the pattern inorder to fetch the Individual user email id from the passed UserCollection. Create a variable UserId and place resuslt to this variable

- Now drag “LookUpUserActivity” from the toolbox and retrieve email for the user
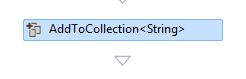
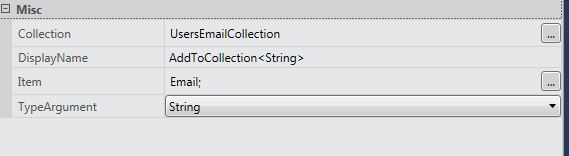
- Drag “AddtoCollection” activity of type String
- In the properties of AddToCollection, provide the required parameters
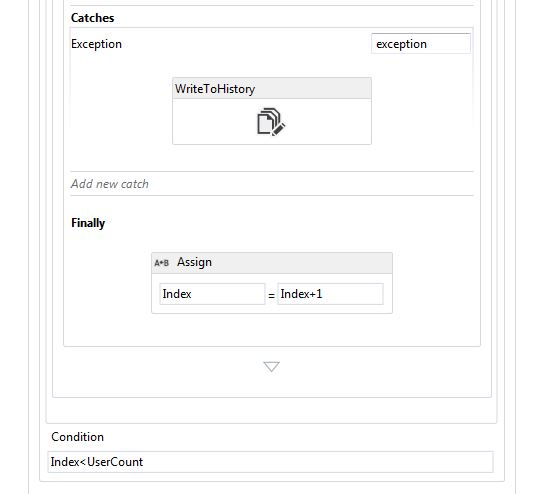
- In the Catch and Condition, provide the necessary like below
- Now going back to the Main Workflow, drag Email Activity and provide the Email Collection
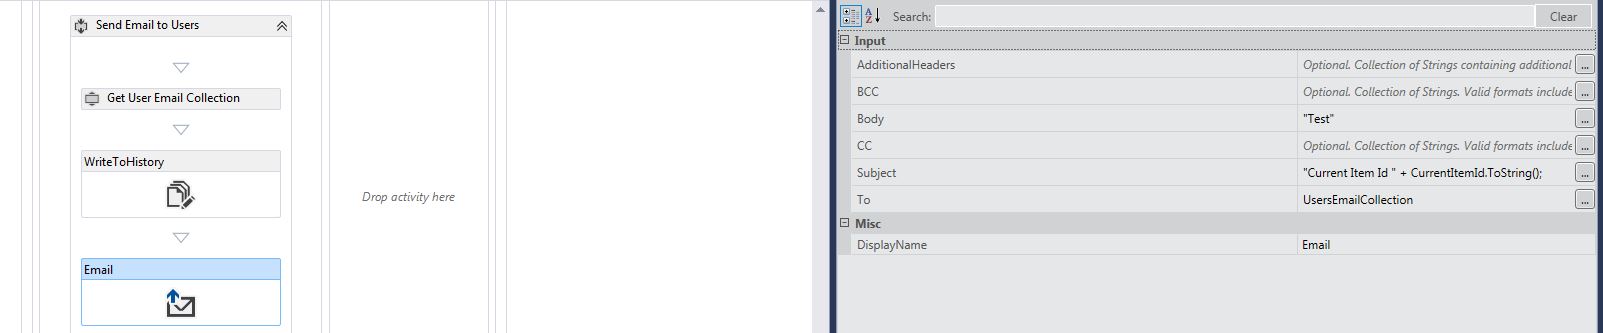
- Deploy and trigger the workflow